Watermarking images is a breeze with ImageMagick. ImageMagick is a very handy tool to manipulate images from the command-line. It is free and is available on all major platforms.You can use text or another image to watermark your images with ImageMagick. The ‘rmagick‘ gem is a Ruby library to interact with ImageMagick.
I recently had to watermark images in one of my Rails projects. This was pretty critical as some of the customers were using these images without paying for them. Images were generated using ‘pdf2image‘ and not uploaded by the client. So we had to do this with Ruby.
We wanted the watermark to occupy a large part of the image, look pleasant without actually becoming overbearing. We tried both alternatives text and image before choosing to watermark with the client’s logo.
There are many ways to watermark images with either text or another image using ImageMagick’s ‘convert’ tool and command line arguments ‘composite’, ‘watermark’ or ‘dissolve’. They produce different results and to get comparable output from all these methods we need to adjust some parameters.
Lets look at how to watermark images with text.
When watermarking with text we are essentially creating an image with the desired text and watermarking our original image with this new image. The ruby script below will generate 3 watermarked images with all the 3 rmagick methods(‘composite’, ‘watermark’ and ‘dissolve’). Rmagick will call ‘convert’ with the corresponding command line arguments(‘composite’, ‘watermark’ and ‘dissolve’). We can place the watermark anywhere on the screen by specifying ‘gravity’ and ‘geometry’. The options for ‘gravity’ are NorthWest, North, NorthEast, West, Center, East, SouthWest, South, SouthEast. The watermark offset position can be set relative to the ‘gravity’ position using ‘geometry’.
| # Watermarking image with text using ImageMagick 'composite', 'watermark' and 'dissolve' | |
| require "RMagick" | |
| # Read the image in the memory with RMagick | |
| img = Magick::Image.read("/home/aditya/Pictures/old_england_pic.jpg").first | |
| # Create a new image in memory with transparent canvas | |
| # size of this 'mark' image is same as original image which we want to watermark | |
| mark = Magick::Image.new(img.rows, img.columns) {self.background_color = "none"} | |
| draw = Magick::Draw.new | |
| # draw is used to add elements to an image like text | |
| draw.annotate(mark, 0, 0, 0, 0, "creative commons") do | |
| # place the text in the centre of the canvas | |
| draw.gravity = Magick::CenterGravity | |
| # set text height in points where 1 point is 1/72 inches | |
| draw.pointsize = 100 | |
| draw.font_family = "Times" # set font | |
| draw.fill = "black" # set text color | |
| draw.stroke = "none" # remove stroke | |
| end | |
| # rotate this mark by 45 degrees anticlockwise (optional) | |
| # if we do not specify 'background_color' on 'mark' then on rotation the background color will be black. | |
| # we want it to be transparent. | |
| mark = mark.rotate(-45) | |
| # using composite | |
| # place the watermark in the center of the image | |
| # default 'compose over' overlays the watermark on the background image | |
| # SoftLightCompositeOp darkens or lightens the colors, dependent on the source color value. | |
| # If the source color is lighter than 0.5, the destination is lightened. | |
| # If the source color is darker than 0.5, the destination is darkened, as if it were burned in. | |
| # The degree of darkening or lightening is proportional to the difference between the source color and 0.5. | |
| # If it is equal to 0.5, the destination is unchanged. | |
| # Painting with pure black or white produces a distinctly darker or lighter area, but does not result in pure black or white. | |
| img1 = img.composite(mark, Magick::CenterGravity, Magick::SoftLightCompositeOp) | |
| # save the watermarked image | |
| img1.write("/home/aditya/Pictures/wm_old_england_pic_text_composite.jpg") | |
| # using watermark | |
| # place the watermark in the center of the image with gravity | |
| # watermark the image with 20% brightness and 50% saturation | |
| img2 = img.watermark(mark, 0.2, 0.5, Magick::CenterGravity) | |
| # save the watermarked image | |
| img2.write("/home/aditya/Pictures/wm_old_england_pic_text_watermark.jpg") | |
| # using dissolve | |
| # add watermark with 25% opacity for watermark, 50% opacity for image and position is center | |
| img3 = img.dissolve(mark, 0.25, 0.5, Magick::CenterGravity) | |
| # save the watermarked image | |
| img3.write("/home/aditya/Pictures/wm_old_england_pic_text_dissolve.jpg") |
OUTPUT:

Watermark with text using ‘composite’

Watermark with text using ‘dissolve’
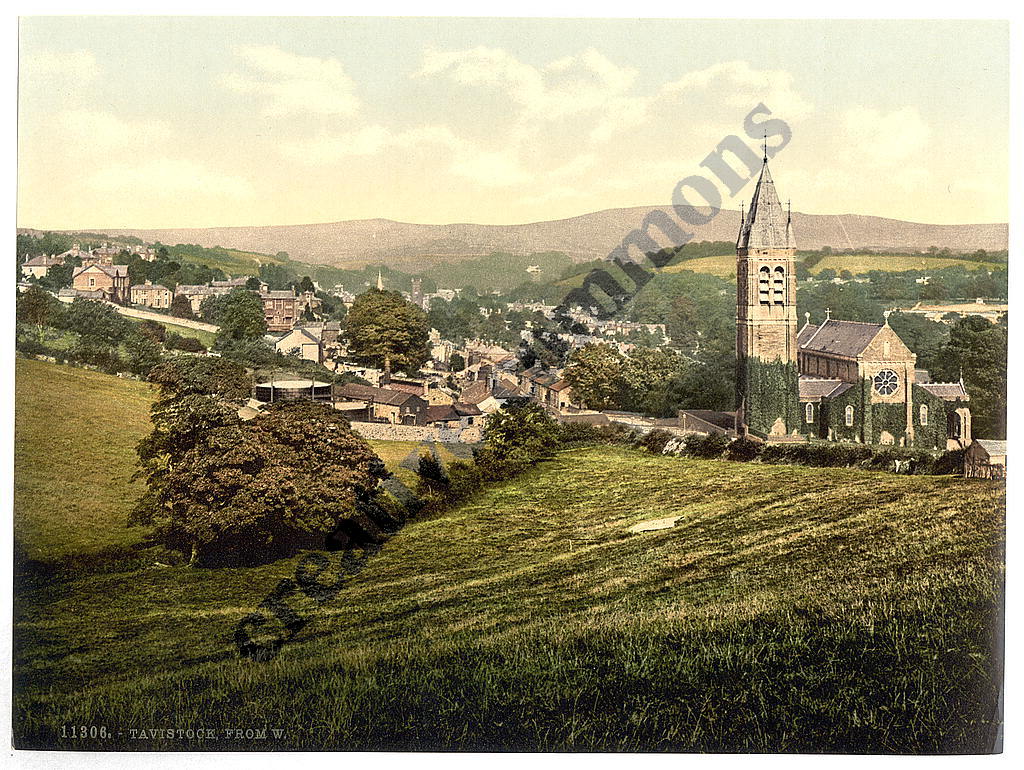
Watermark with text using ‘watermark’
Lets look at how to watermark images with another image. The image I have used has a lot of solid colors and little details. It is perfect to compare the watermarking methods available with ImageMagick ‘convert’.
I will be watermarking the same image with a sample logo of ‘creative commons’ from flickr. Also, JPG does not support transparency so I changed the sample logo to PNG format.
Again, the ruby script below will generate 3 watermarked images with all the 3 rmagick methods (‘composite’, ‘watermark’ and ‘dissolve’).

original creative commons logo

creative commons image with transparent background for watermarking
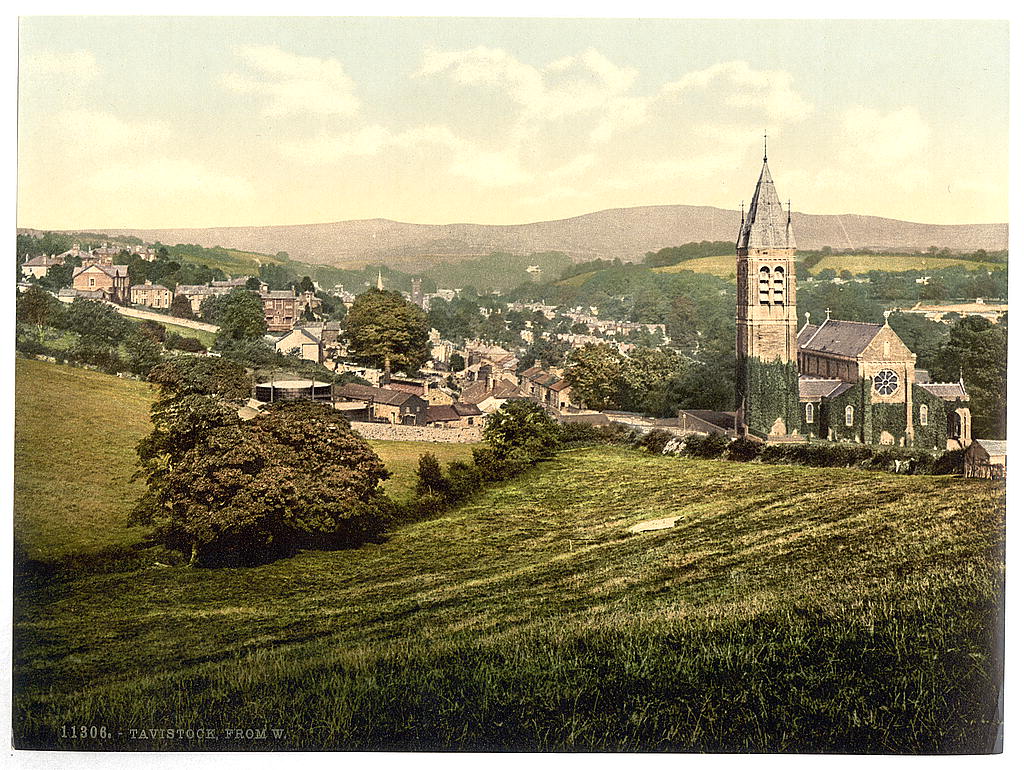
original image
| # Watermarking image with another image using Imagemagick 'composite', 'watermark' and 'dissolve'. | |
| require "RMagick" | |
| # Read the image in the memory with RMagick | |
| img = Magick::Image.read("/home/aditya/Pictures/old_england_pic.jpg").first | |
| # the original image was in jpg format | |
| # need to make the white background color transparent | |
| # also changed the format to png since JPG does not support transparency. | |
| # run the command below to create an image with transparent background using ImageMagick | |
| # convert cc.png -transparent white -fuzz 2% watermark.png | |
| mark = Magick::Image.read("/home/aditya/Pictures/watermark.png").first | |
| # set the canvas to transparent | |
| # if we do not specify 'background_color' on 'mark' then on rotation the background color will be black. | |
| # we want it to be transparent. | |
| mark.background_color = "Transparent" | |
| # resize the watermark to 60% of the image we want to watermark | |
| watermark = mark.resize_to_fit(img.rows * 0.6, img.columns * 0.6) | |
| # rotate this mark by 45 degrees anticlockwise (optional) | |
| watermark.rotate!(-45) | |
| # using composite | |
| # place the watermark in the center of the image | |
| # default 'compose over' overlays the watermark on the background image | |
| # SoftLightCompositeOp darkens or lightens the colors, dependent on the source color value. | |
| # If the source color is lighter than 0.5, the destination is lightened. | |
| # If the source color is darker than 0.5, the destination is darkened, as if it were burned in. | |
| # The degree of darkening or lightening is proportional to the difference between the source color and 0.5. | |
| # If it is equal to 0.5, the destination is unchanged. | |
| # Painting with pure black or white produces a distinctly darker or lighter area, but does not result in pure black or white. | |
| img1 = img.composite(watermark, Magick::CenterGravity, Magick::SoftLightCompositeOp) | |
| # save the watermarked image | |
| img1.write("/home/aditya/Pictures/wm_old_england_pic_image_composite.jpg") | |
| # using watermark | |
| # place the watermark in the center of the image with gravity | |
| # watermark the image with 20% brightness and 30% saturation | |
| img2 = img.watermark(watermark, 0.2, 0.3, Magick::CenterGravity) | |
| # save the watermarked image | |
| img2.write("/home/aditya/Pictures/wm_old_england_pic_image_watermark.jpg") | |
| # using dissolve | |
| # add watermark with 40% opacity for watermark, 100% opacity for image and position is center | |
| img3 = img.dissolve(watermark, 0.4, 1, Magick::CenterGravity) | |
| # save the watermarked image | |
| img3.write("/home/aditya/Pictures/wm_old_england_pic_image_dissolve.jpg") |
OUTPUT:
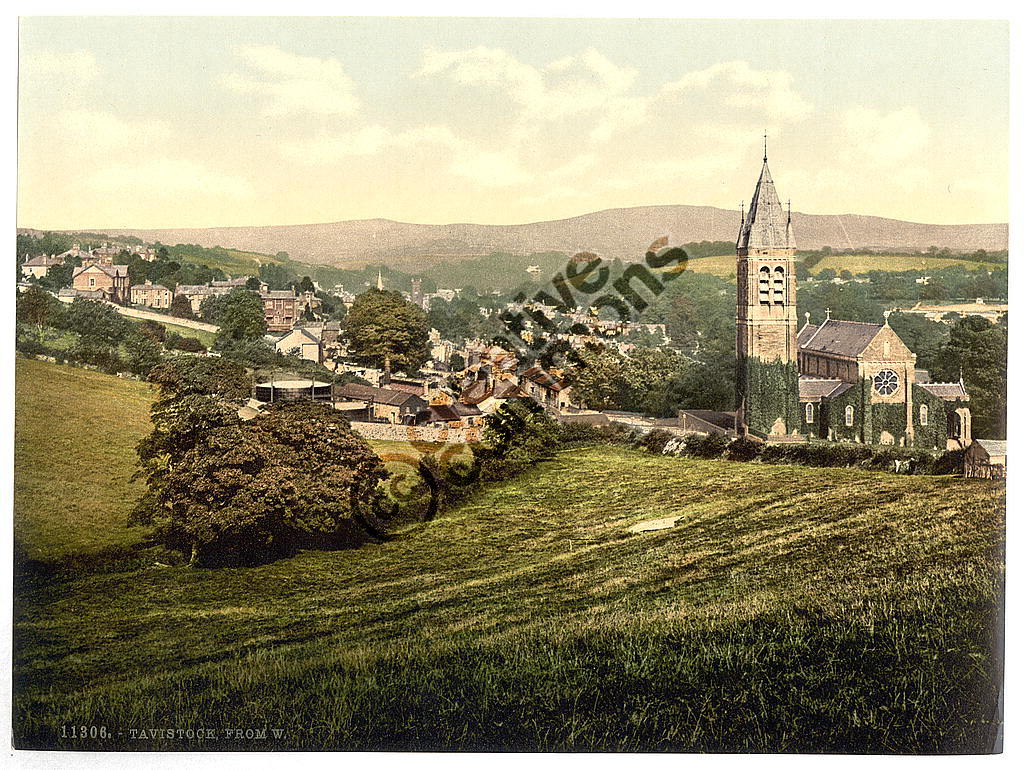
Watermark with another image using ‘composite’

Watermark with another image using ‘dissolve’

Watermark with another image using ‘watermark’
As you can see the ‘watermark’ method produced pretty bad results with image. I’m not sure if I did something wrong because I was expecting it to give me some decent output. On the other hand, ‘composite’ really impressed me but I went with ‘dissolve’ because it gave me decent results with many other images I have generated for testing purposes. Also the size of the watermark image affected the final output image. Smaller size watermark images produced bad results with all the 3 methods during my tests.
If you do not want to use ‘rmagick’ then you could use ‘minimagick’ which uses ‘mogrify‘. ‘mogrify’ is another tool provided by ImageMagick and does processing on the same image. It reads the file, modifies it and writes the output to the same file unless ‘format’ argument is provided. It consumes less memory compared to ImageMagick ‘convert’. ‘mogrify’ is better suited for batch processing while ‘convert’ is better suited for multiple or piped operations on same file.
Useful Links:
All images used are available on flickr.com
